Window & door planning
How to Measure for Replacement Windows in Kissimmee
Learn how to measure for replacement windows by labeling openings, noting requested dimensions and reference points, and preparing questions for your estimate.
If you are gathering numbers for replacement windows, the useful first step is not guessing what size to order. It is organizing preliminary notes so an estimator can tell which opening each measurement describes and how you took it. For homeowners in Kissimmee, how to measure for replacement windows starts with labeling windows by room, keeping width and height distinct, recording the reference points and units requested, and pairing each opening with a photo or question. These notes help prepare for an estimate discussion; they do not replace confirmation of final order dimensions. Measuring instructions can differ: manufacturer examples use different reference points, so do not combine them into a rule of your own. This guide explains how to separate estimate notes from order dimensions, keep similar-looking windows straight, and prepare a practical handoff without treating an uncertain measurement as confirmed.
Key Takeaways
- Replacement-window measurement preparation means organizing preliminary opening notes for an estimate, not determining final order dimensions.
- Ask which reference points and units the estimator wants before recording width and height; examples differ by manufacturer.
- Give each opening its own room label and matching photo so similar-looking windows do not get mixed up.
- A useful handoff records the opening, location, requested dimensions, reference points, units, and an unresolved question.
What Is Measuring for Replacement Windows?
How to measure for replacement windows, at the estimate-preparation stage, means gathering clearly labeled preliminary notes about each opening—not deciding the dimensions for a final order. A useful record identifies the window, its room, the width and height requested, the reference points and units used, and any questions that need follow-up.
The distinction matters because measuring approaches can vary. Pella presents initial dimensions as estimate preparation and gives trim-to-trim examples. Marvin describes different landmarks, including inside side-jamb edges for width and sill-to-head-jamb for height. Those are each manufacturer’s examples, not one universal method or instructions for ordering every replacement window. Ask your estimator which reference points and units to use before taking measurements.
Separate Estimate Notes From Ordering Dimensions
Start by naming the purpose of each number. A preliminary measurement can help frame an estimate conversation, but it should not be presented as a confirmed size for ordering. Pella describes its measurements as preparation for an estimate and says dimensions are confirmed before its orders. Marvin also describes expert confirmation before ordering. These statements apply to their respective processes; they do not establish a universal procedure or describe Martin Toro’s process.
Before measuring, ask what information would help with the estimate and which reference points and units to use. If you already have dimensions, preserve how they were taken rather than relabeling them as order-ready. A number without its purpose and method can be ambiguous. Keep any uncertain point marked for discussion.
Label each figure as preliminary or confirmed so an estimate note is not mistaken for an order dimension.
Record Width and Height With Clear Reference Points
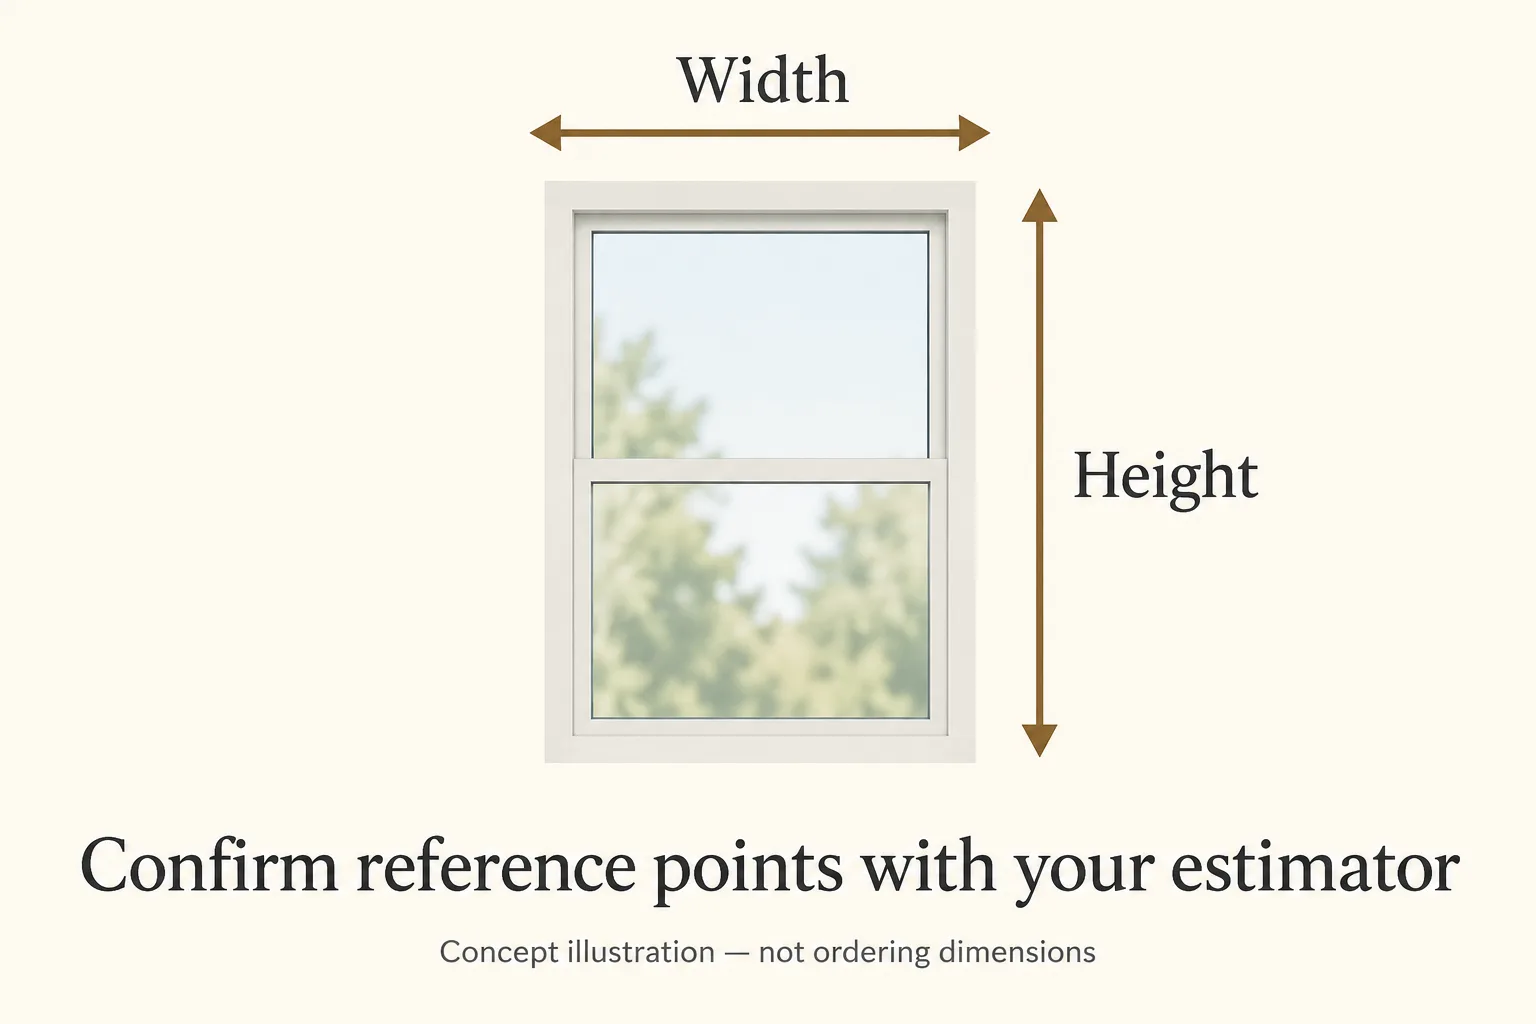
Width is the horizontal measurement; height is vertical. That distinction is simple, but the landmarks used to take each measurement may differ. Pella gives trim-to-trim examples for estimate preparation. Marvin describes width between inside side-jamb edges and height from sill to head-jamb, with drywall alternatives. These are distinct manufacturer examples, not a combined universal tutorial.
Ask the estimator which starting and ending points apply to the estimate discussion, and whether to record inches or another requested unit. Write the chosen landmarks beside the dimensions. A width-and-height concept illustration can clarify direction: horizontal for width and vertical for height. Its arrows show direction only, not where every window should be measured or what dimensions to order.
Do not apply rounding, deductions, or assumptions from one guide as a general ordering rule. If a reference point is covered, unclear, or inaccessible, record the uncertainty and ask how to proceed instead of guessing or attempting risky access. The useful result is a note another person can interpret, not a number detached from its method.
Keep Each Opening Tied to Its Room and Photo
Keep each opening attached to its room and its own photo. Similar-looking windows may differ, so give each a separate ID and record. For example, imagine a living room with two windows: label them Window A and Window B, then use those IDs in the notes and matching photo names. This hypothetical example shows an organization method, not a completed company project.
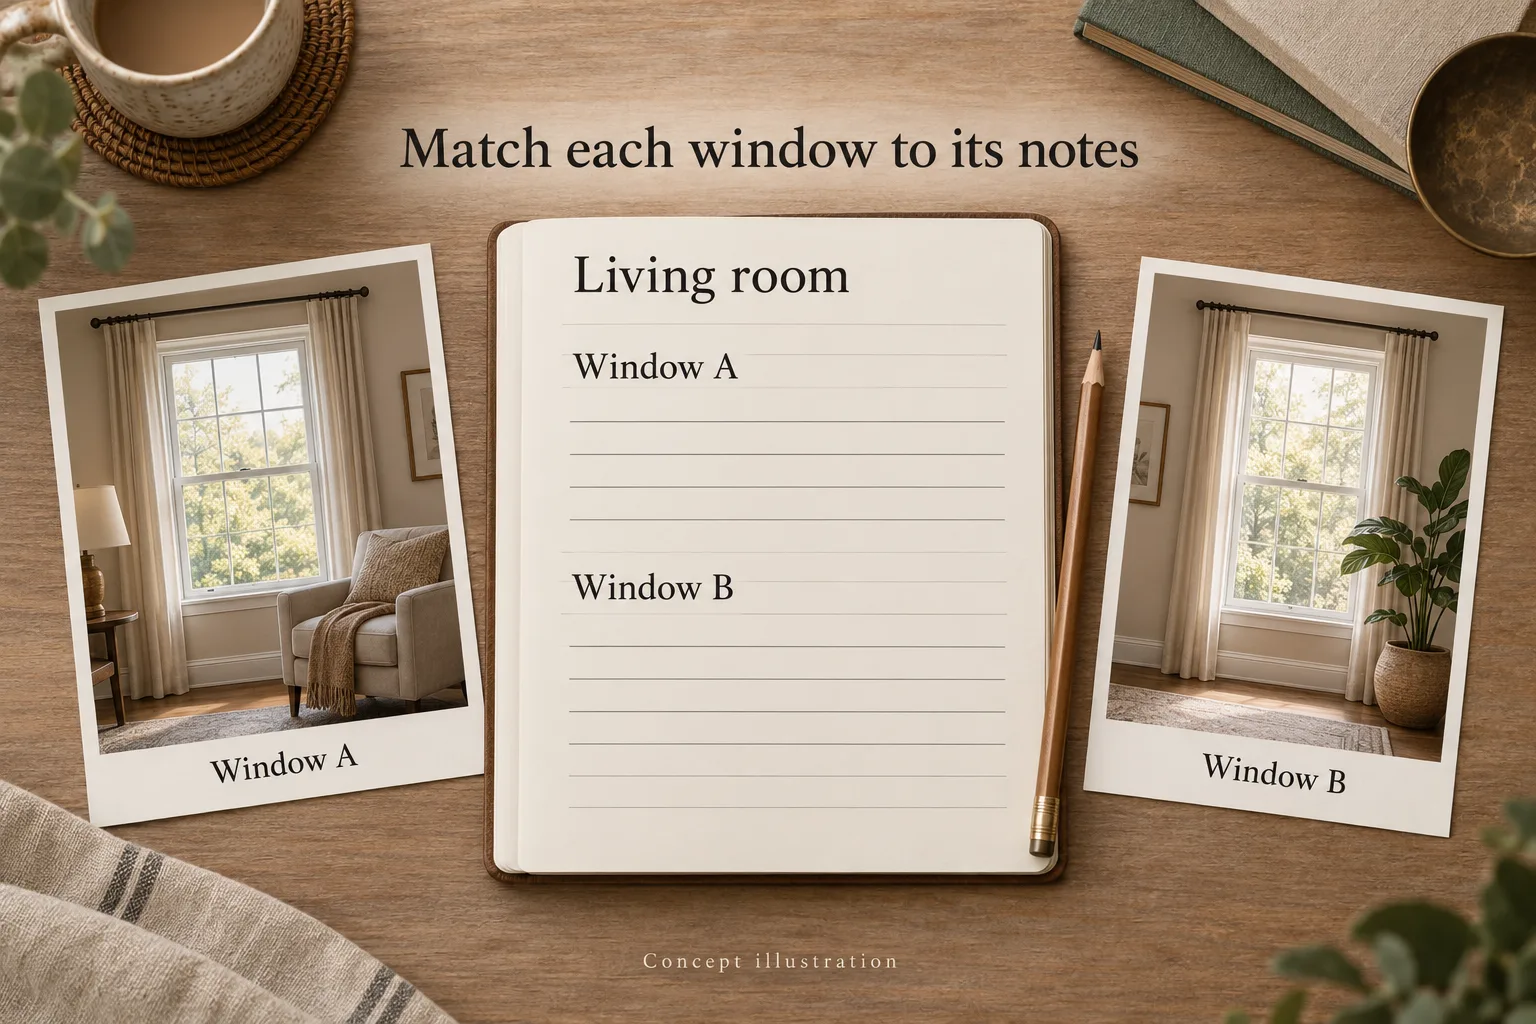
A notebook or phone album can serve as the index. Use the same opening ID in the written note and photo name. A conceptual notebook illustration showing two labeled entries paired with two labeled photo illustrations can demonstrate that system; it is not a record of actual company work. If you cannot safely reach or clearly identify a point, label what remains unknown and make it a question for the discussion. The goal is traceability, not pretending every opening has a complete measurement.
Prepare the Handoff for a Measurement Discussion
A handoff is easier to discuss when the notes follow one repeatable format. Use a row per opening, and leave uncertain details visibly unresolved rather than filling them with a guess. The example below shows organization only; it contains no technical dimensions and is not an ordering worksheet.
| Opening and location | Width and height | Reference points, units, photo or question |
|---|---|---|
| C — Kitchen | Not recorded | Starting point unclear; ask which points and units to use. Photo not yet matched. |
| D — Bedroom | Not recorded | Method not confirmed; ask before recording dimensions. Photo unavailable. |
| E — Hallway | Not recorded | Access uncertain; ask how to proceed safely. Question for estimate discussion. |
| F — Front room | Not recorded | Record after the requested method and units are clear. Ask whether a photo would help. |
| G — Dining room | Not recorded | Reference point covered; ask for guidance rather than guessing. Note the unclear point. |
| H — Study | Not recorded | Units not confirmed; ask which to use. Photo available; match it to H. |
The table is a sample structure, not a prescribed form. Before the discussion, consider which entries are observations, which still need a measuring method, and which are questions. That distinction helps the estimator interpret what you gathered without mistaking an incomplete note for a confirmed dimension.
FAQs
Are preliminary window measurements the final order dimensions?
Preliminary measurements are notes gathered to help prepare for an estimate discussion. They can identify an opening and record requested width and height, with the reference points and units made clear. They are not automatically the dimensions for a final order. Ask the estimator which measuring method to use and how dimensions will be confirmed before ordering.
Where should I measure a window for an estimate?
There is not one set of reference points to assume for every replacement-window estimate. For example, Pella shows trim-to-trim examples, while Marvin describes measurements using inside jamb and sill-to-head-jamb landmarks. Ask your estimator which points to use for your discussion. Record those points alongside each number so no one has to guess later.
What should I write down before discussing replacement windows?
A useful note includes an opening ID, its room or location, the requested width and height, units, reference points, and a matching photo or question. Keep separate openings in separate records, even if they look alike. If a window is inaccessible or a reference point is unclear, note that for discussion rather than attempting risky access or guessing.
Conclusion
Preliminary measurements are most useful when each number stays connected to an opening, its location, and the method used. They help prepare an estimate discussion; they do not establish final order dimensions.
Before sharing your notes, check that each opening has a separate ID and that any dimensions include the requested reference points and units. Mark unclear details as questions rather than filling gaps with guesses.
When you are ready to discuss replacement windows in Kissimmee, bring your organized notes to Windows and Doors by Martin Toro and ask what information would be useful for your estimate.
Discuss your organized replacement-window notes with Windows and Doors by Martin Toro.