Window & door planning
Baseboard Outside Corners in Clermont, Florida: A Better Fit
Learn how to measure, cut, and join baseboard outside corners in Clermont, Florida, and how to spot gaps and choose a repair approach.
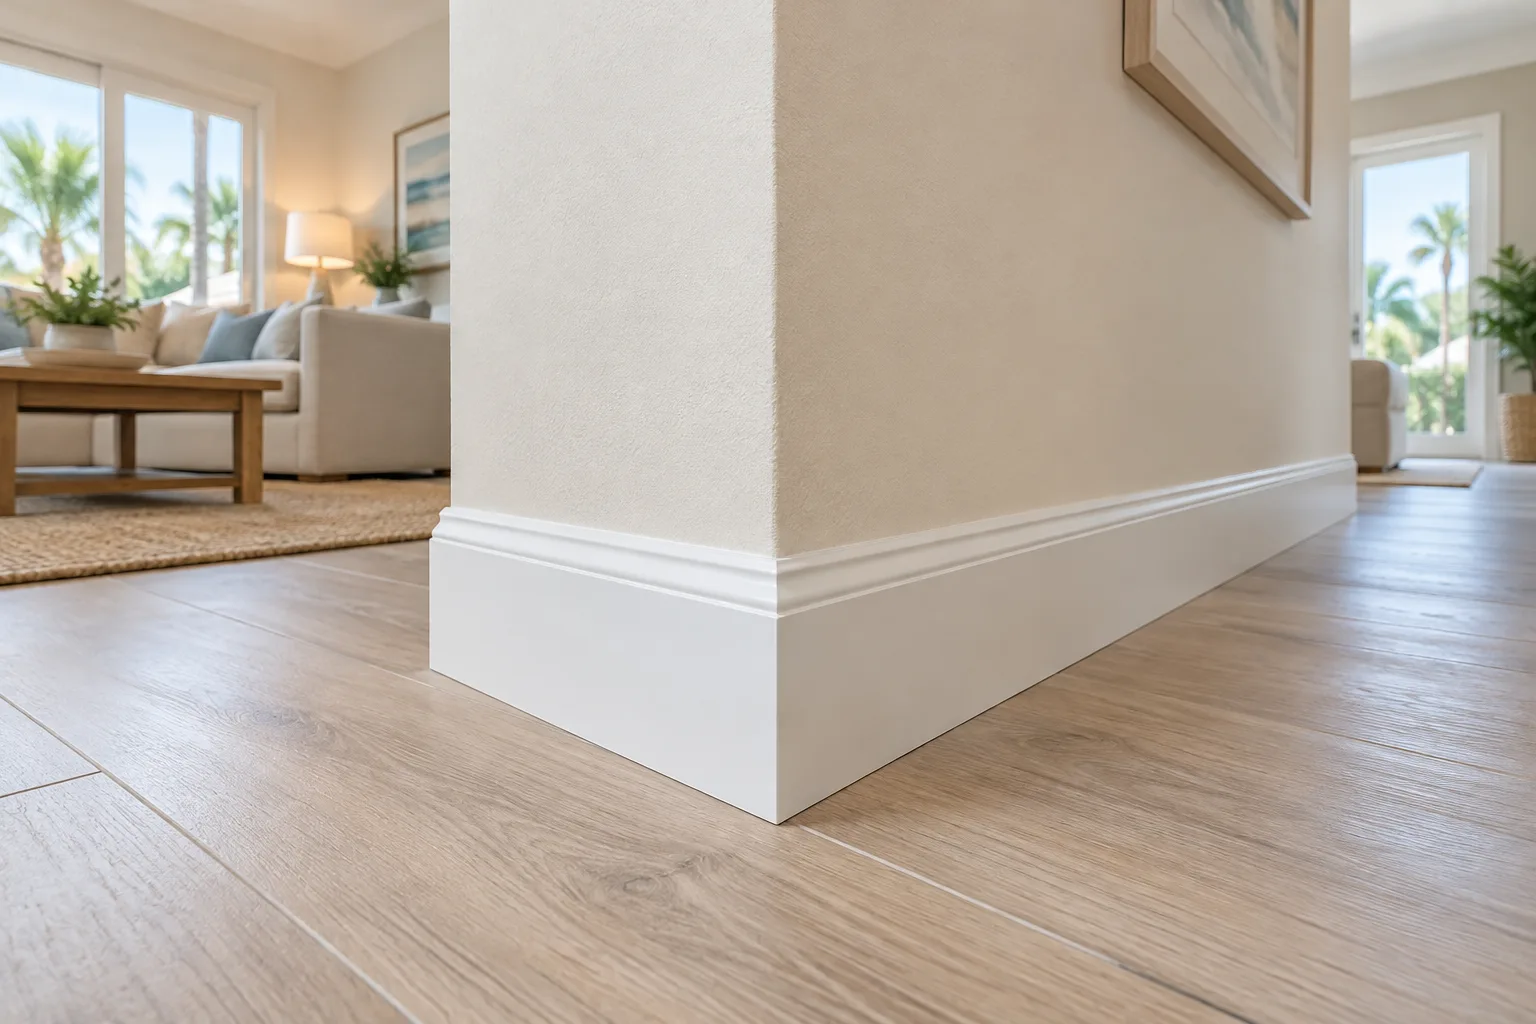
Baseboard outside corners often look best with a mitered joint. Both boards meet at angled cuts to form the corner. Corner blocks provide a simpler alternative with square-cut boards. Choose based on the trim style and the corner’s shape. Also consider whether you want the joint or a block to define the corner. This guide compares both options and explains how to spot fit problems before gaps show. The advice applies to homes in Clermont, Florida.
Key Takeaways
- A miter joins two angled board ends to form an outside corner, usually at 45 degrees.
- Corner blocks let square-cut baseboards meet a separate decorative piece at the corner.
- Walls that bow or corners that are not square can leave gaps in a carefully cut miter.
- Test the fit before fastening, then adjust the cut to match the actual corner.
How a Mitered Outside Corner Should Fit
A mitered joint is the standard choice when two baseboard runs turn around an outside corner. Each board gets an angled cut so the faces meet at the corner. At a square corner, the cuts are commonly 45 degrees, forming a 90-degree turn together. The visible edges should meet without a distracting seam or one board sticking past the other. Mark each piece before cutting to track its side and the direction its short point faces. Then dry-fit both pieces at the wall; this shows whether the angle and board length work together. Check the joint from standing height and close up before fastening, since small gaps show at the exposed edge.
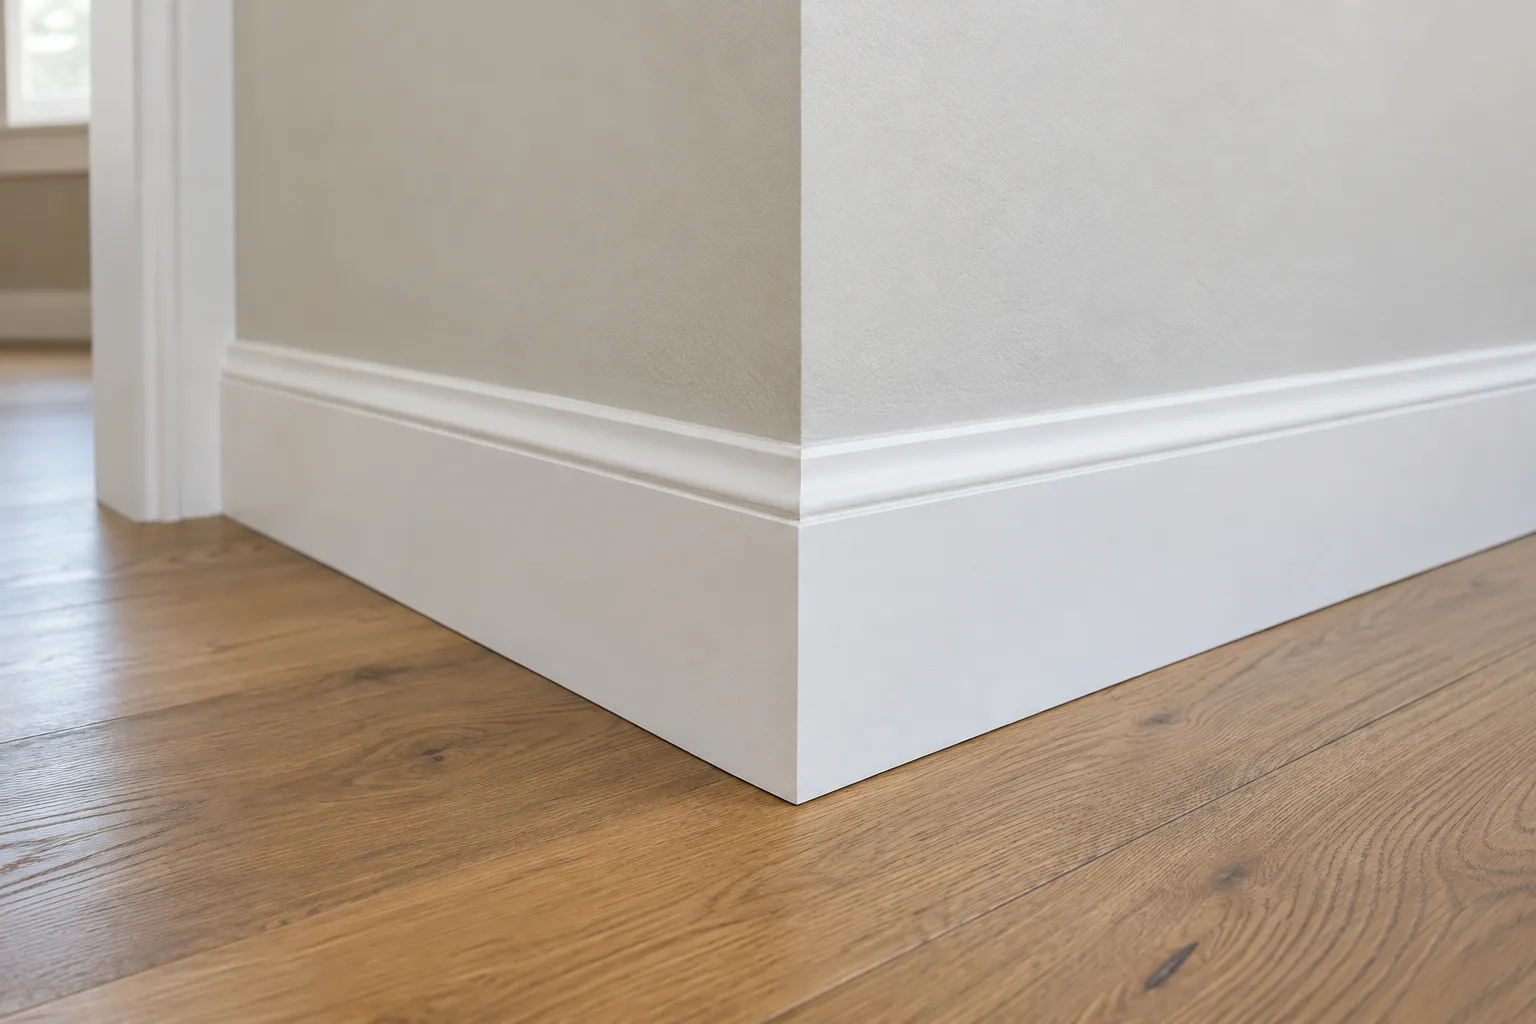
The fit depends on the corner, not just the saw setting. Walls can bow, floors can slope, and corners may not be square, so two nominal 45-degree cuts may still leave a gap. Before fastening, hold both pieces in place and check the joint from standing height and close up. A small mismatch can stand out because the angled faces meet at the most exposed edge of the trim.
When Corner Blocks Make Sense
Corner blocks are a good fit when you want square-cut board ends or a visible decorative accent at the turn. The baseboards stop against the block instead of joining each other with a miter. This approach changes the look: the block becomes a distinct detail, while the boards create simpler connections on either side. Choose a block that works with the baseboard’s height and profile so the transition looks planned.
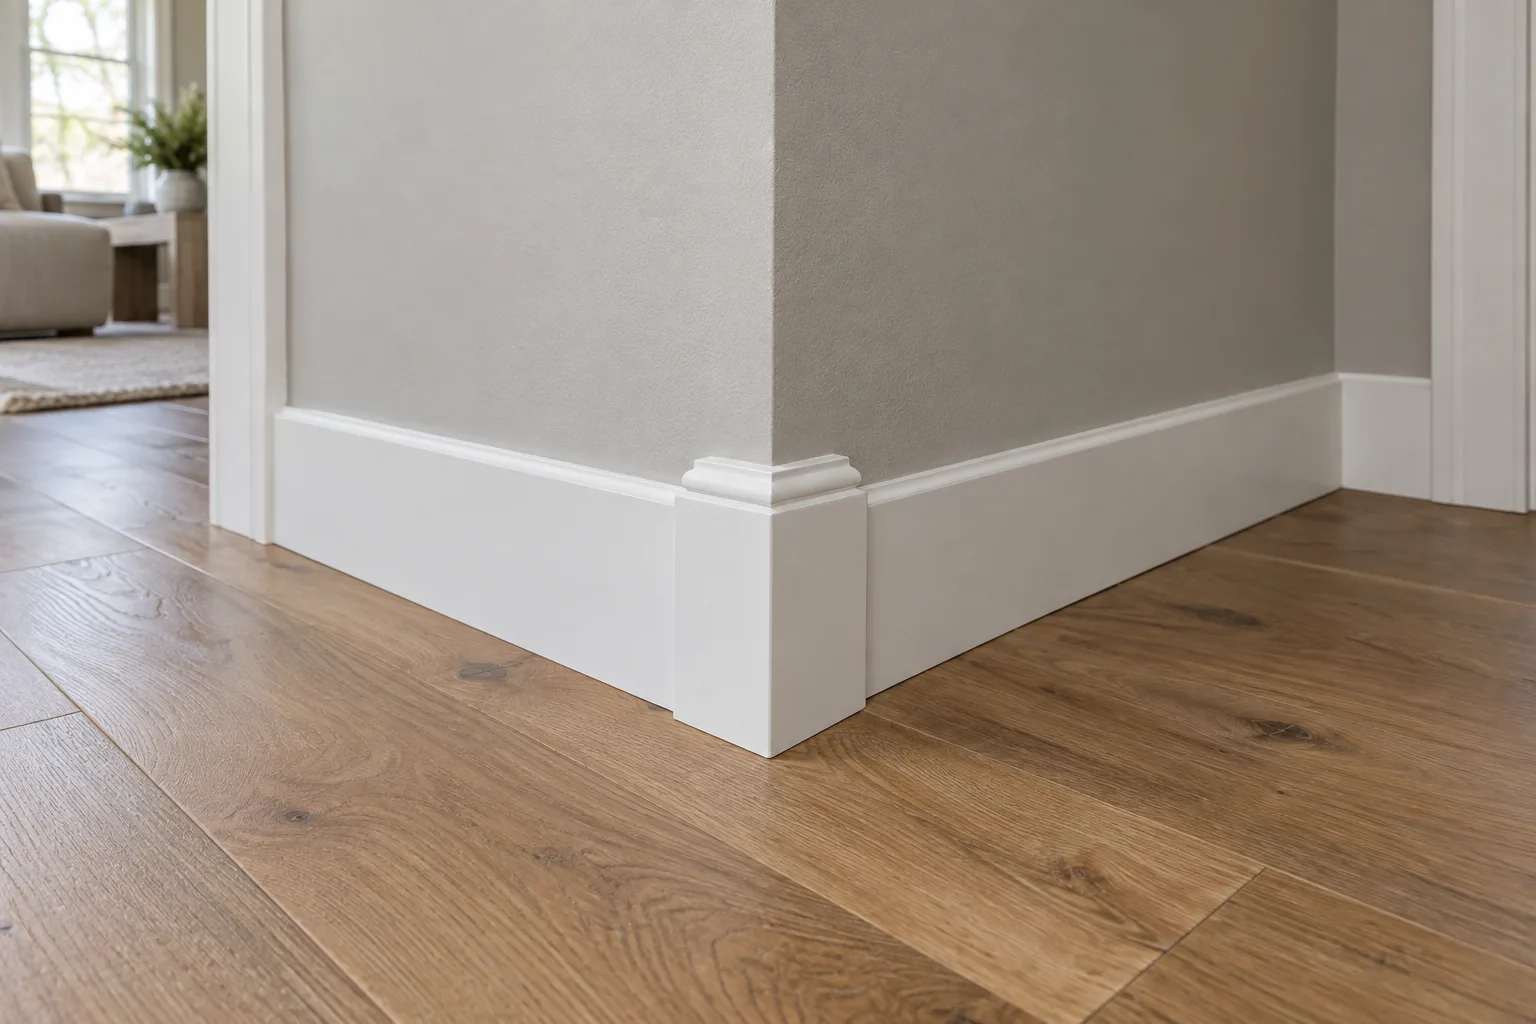
A miter suits a continuous trim line; a corner block suits a design that makes the corner a feature. Neither option hides a poor fit between the wall and the trim. True Value describes miterless trim systems that use square-cut ends between corner blocks at inside and outside corners. If the wall is uneven, check whether the board sits against it before choosing a joint detail, since the gap may remain visible along the board itself.
| Option | How boards meet | Look | Best fit |
|---|---|---|---|
| Miter | Angled ends meet | Continuous corner | Clean, square corner |
| Corner block | Square ends meet block | Separate accent | Block suits trim |
| Adjusted miter | Angled ends follow corner | Continuous corner | Uneven or out-of-square corner |
Comparing Options for baseboard outside corners
A miter keeps the trim line continuous. A corner block makes the joint a separate detail. An adjusted miter can close more neatly when the corner is not square. The board must still sit against the wall. For example, hold both boards in place before fastening them and check the joint from the front. If one edge lifts away from the wall, adjust the fit before trimming to final length.
How to Measure and Fit an Outside Corner
Before cutting, identify which way the corner turns and where each board’s short point will land. For an outside corner, the short point sits at the back of the molding against the wall. That reference helps prevent a common mistake: reversing the angle so the long point faces the wrong direction. Measure each run to the short point, then leave a little extra length for test fitting and trimming.
Dry-Fit Before Fastening
A careful fitting sequence reduces guesswork. Fine Homebuilding describes checking the fit, measuring and marking the butt piece, cutting it, then gluing and nailing the corner in place. For a homeowner, the useful lesson is to dry-fit the pieces before applying adhesive or driving fasteners. If the joint does not close, adjust the angle or length in small steps rather than forcing the boards together.
A bowed wall or an out-of-square corner can keep a miter from closing tightly. This can happen even when the cut looks accurate. Bob Vila notes that uneven walls, floors, or corners can lead to ill-fitting joints. Look along the board as well as at the seam. A tight corner does not help if the baseboard pulls away from the wall nearby.
FAQs
What angle do you cut for a baseboard outside corner?
For a square outside corner, the two baseboard ends are commonly cut at 45 degrees to form a 90-degree turn. However, corners are not always square, so test the pieces in place and adjust the angle if the joint does not close.
Are corner blocks a good choice for baseboards?
Corner blocks are a good choice when you want square-cut baseboard ends or want the corner to read as a separate decorative detail. Check the block against the baseboard’s height and profile before deciding, since the block remains visible as its own design element.
Why does my baseboard outside corner have a gap?
A gap can result when the corner is not square or the wall and floor are uneven, even if the boards were cut to standard angles. Check whether the boards sit flat against the wall, then dry-fit the corner and adjust the cut to the actual shape.
Conclusion
For a continuous look, start with a miter and test the fit. Choose a corner block when its shape and scale suit the room. In Clermont, Florida, call Windows and Doors by Martin Toro about your project. Then ask about the trim details you are considering.
Call Windows and Doors by Martin Toro and ask about trim and millwork