Window & door planning
Baseboard Installation in Winter Springs, Florida: Plan the Fit
Learn how to plan baseboard installation, measure walls, choose cuts for corners, attach trim, and finish gaps in a Winter Springs, Florida home.

Baseboard installation starts with measuring each wall, choosing trim that suits the room, and planning clean joints before cutting. For a Winter Springs, Florida homeowner, the best approach depends on the wall and floor conditions. It also depends on the trim material and how much fitting the room needs. A careful sequence helps the trim meet corners neatly and follow an uneven floor. It also keeps the top edge from looking crooked.
Key Takeaways
- Measure each wall separately, sketch obstacles, and plan where seams will fall before cutting the trim.
- Use the floor’s highest point to set a level reference line when the floor is uneven.
- Choose wood, MDF, or cellular PVC based on the room’s conditions and the finish you want.
- Check how the trim will attach to the wall and address gaps or damaged surfaces before installation.
What to Measure and Check Before Fitting Baseboard
Measure each wall section, noting door casings, built-ins, vents, and inside or outside corners. This Old House recommends a room sketch to record wall lengths and obstacles. Plan seams for less noticeable spots, as This Old House advises. Add 10 percent to your measured material to allow for waste and mistakes, This Old House suggests. Number the sketch and matching pieces to keep them organized during fitting. Before removing old trim, score the caulk line along its top edge with a utility knife to help prevent wall damage. Then ease a pry bar behind the baseboard and work slowly to protect the drywall. Take extra care with brittle old wood, which can split or break during removal.
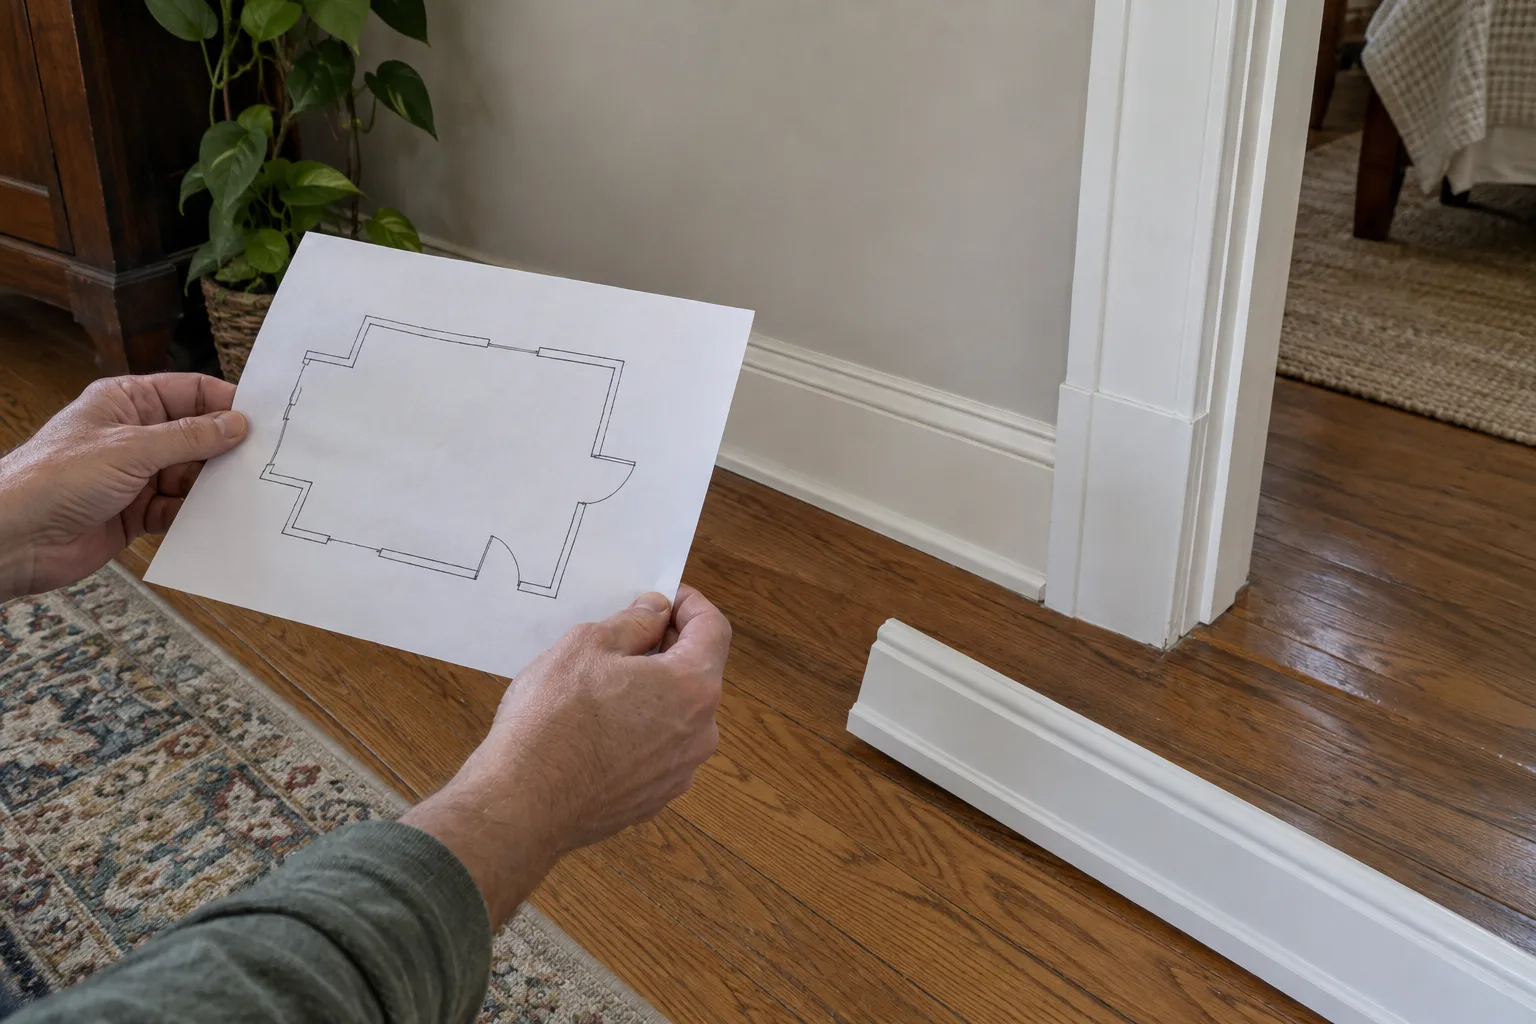
Before fitting new trim, check for loose drywall, protruding nails, and bumps that could keep the baseboard from sitting flat. A sound surface makes fitting easier and helps you identify whether a gap comes from the trim, wall, or floor. For wood trim, bring the baseboards into the room a few days before installation so the wood can adjust to its humidity and temperature. Before cutting or fastening, review the product instructions because materials and finishes can require different methods. The Architectural Woodwork Institute says installers should review and follow the manufacturer’s documented installation instructions. Its standard also calls for confirming specified wood blocking or metal strapping when project documents require those supports.
Choosing Materials for Baseboard Installation
Choose baseboard material for the room’s exposure and the finish you want. Painted wood and medium-density fiberboard (MDF) suit many interiors; cellular PVC may suit moisture-prone areas. Cutting, fastening, and finishing vary by product, so follow its instructions. Cellular PVC trim can move about three-sixteenths of an inch over 18 feet as temperatures change; check your baseboard’s guidance for your room.
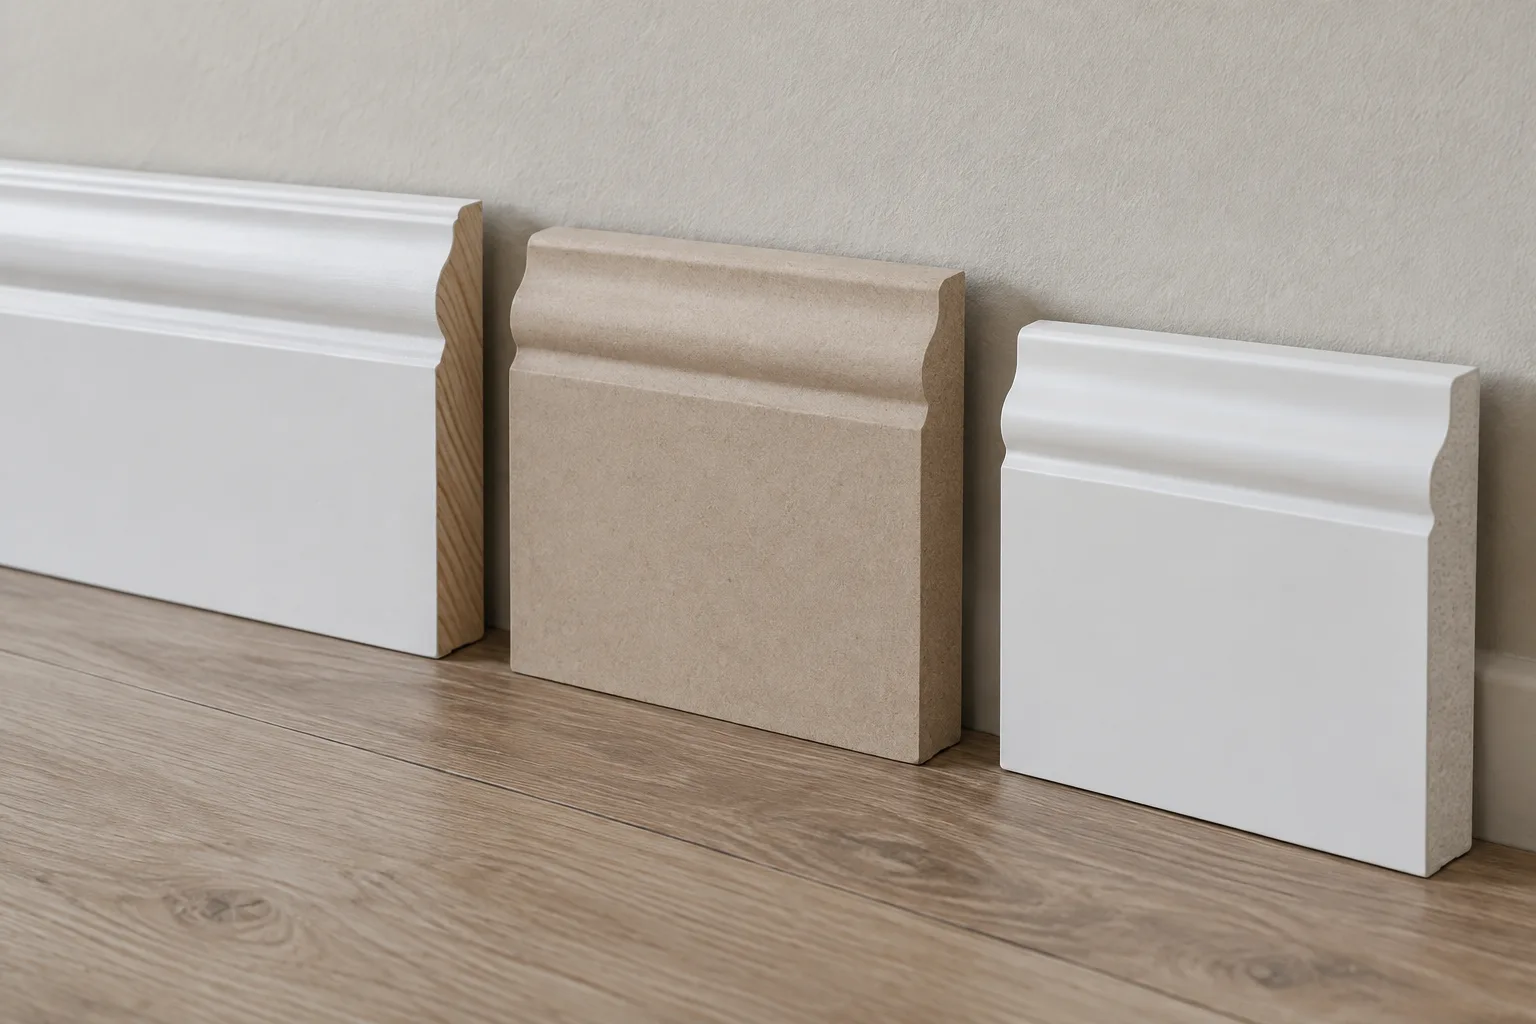
Choose MDF for dry rooms when you want a smooth painted finish. Choose solid wood for a surface you can stain or paint. Cellular PVC may suit damp-prone areas. Follow the manufacturer’s guidance for the specific trim and its intended use. Material choice affects more than appearance. Wood needs time to adjust to indoor conditions. Cellular PVC can move along longer runs as temperatures change. Before buying, plan where joints and corners will fall and how the trim will attach. A material can suit the room and still look untidy if the cuts do not fit.
Which Baseboard Material Fits Your Room?
| Material | Good fit | Consider |
|---|---|---|
| MDF | Smooth painted finish | Keep in dry rooms |
| Wood | Stain or paint options | Allow time to adjust |
| Cellular PVC | Moisture-prone areas | Follow product instructions |
The room’s exposure should guide the first choice, then finish and fitting needs can narrow it further. A dry bedroom with painted trim points toward MDF, while a homeowner seeking a stained wood look may prefer wood. For cellular PVC, check the product’s intended use and instructions before deciding how its movement and fastening affect the installation.
Baseboard Installation: Cutting and Fitting Each Wall
Measure each wall section from corner to corner, account for irregularities, and label the pieces as you work. This Old House recommends cutting slightly long, then trimming to fit. That leaves room to fine-tune the joint before fastening. For inside corners, use a coping saw or make a 45-degree backcut. Outside corners generally use matching miter cuts; test the angle on scrap trim before cutting a finished piece. Set the saw for the cut, keep hands clear, and wear suitable eye and hearing protection. If a compound miter saw is new to you, practice on scrap trim first. The test also shows how the material cuts before you work on a visible piece.
Set a Level Line Over an Uneven Floor
An uneven floor can make a baseboard’s top edge look uneven when the trim follows every floor change. Find the floor’s highest point with a 4-foot level. Mark that height and snap a level line around the room to guide the board’s top edge. Then compare the line with the floor, adjusting the bottom edge carefully to limit gaps without bending the visual line. Dry-fit adjoining pieces and inspect their joints from standing height before fastening. AWI’s standard bars visible open joints, chips, and scratches after installation. It also requires installation within specified plumb and level tolerances.
FAQs
How do you install baseboard on an uneven floor?
For an uneven floor, find its highest point with a 4-foot level, then mark a level reference line around the room; This Old House says the line guides the baseboard’s top edge. Fit the trim to that line, then adjust its bottom edge where practical to reduce gaps; how much you can correct depends on the floor’s variation and the baseboard’s coverage.
Should baseboards be acclimated before installation?
Wood baseboards should be brought into the installation area a few days before fitting. This Old House explains that wood changes with humidity and temperature, and that acclimation helps reduce the risk of later gaps or warping. Follow the instructions for the specific product, especially when installing material other than wood. Marking and cutting should wait until the trim is ready for the room’s conditions.
How do you make baseboard corners look neat?
For neat baseboard corners, measure each wall section, dry-fit the pieces, and use coping or a 45-degree backcut for inside corners and miter cuts for outside corners, as This Old House describes. Plan seams for less noticeable spots, then inspect each joint before fastening; a test fit can reveal gaps while the cut is still easy to adjust.
Conclusion
A neat baseboard installation depends on sound preparation, accurate cuts, and a material suited to the room. If you are planning trim work in Winter Springs, Florida, call Windows and Doors by Martin Toro and ask about your own project and the choices you are weighing.
Call Windows and Doors by Martin Toro and ask about trim and millwork