Window & door planning
Window Leaking in Sanford, Florida: What to Check After Rain
Learn what to record when a window is leaking after rain in Sanford, Florida, how to assess unit and wall paths, and what to ask before choosing work.
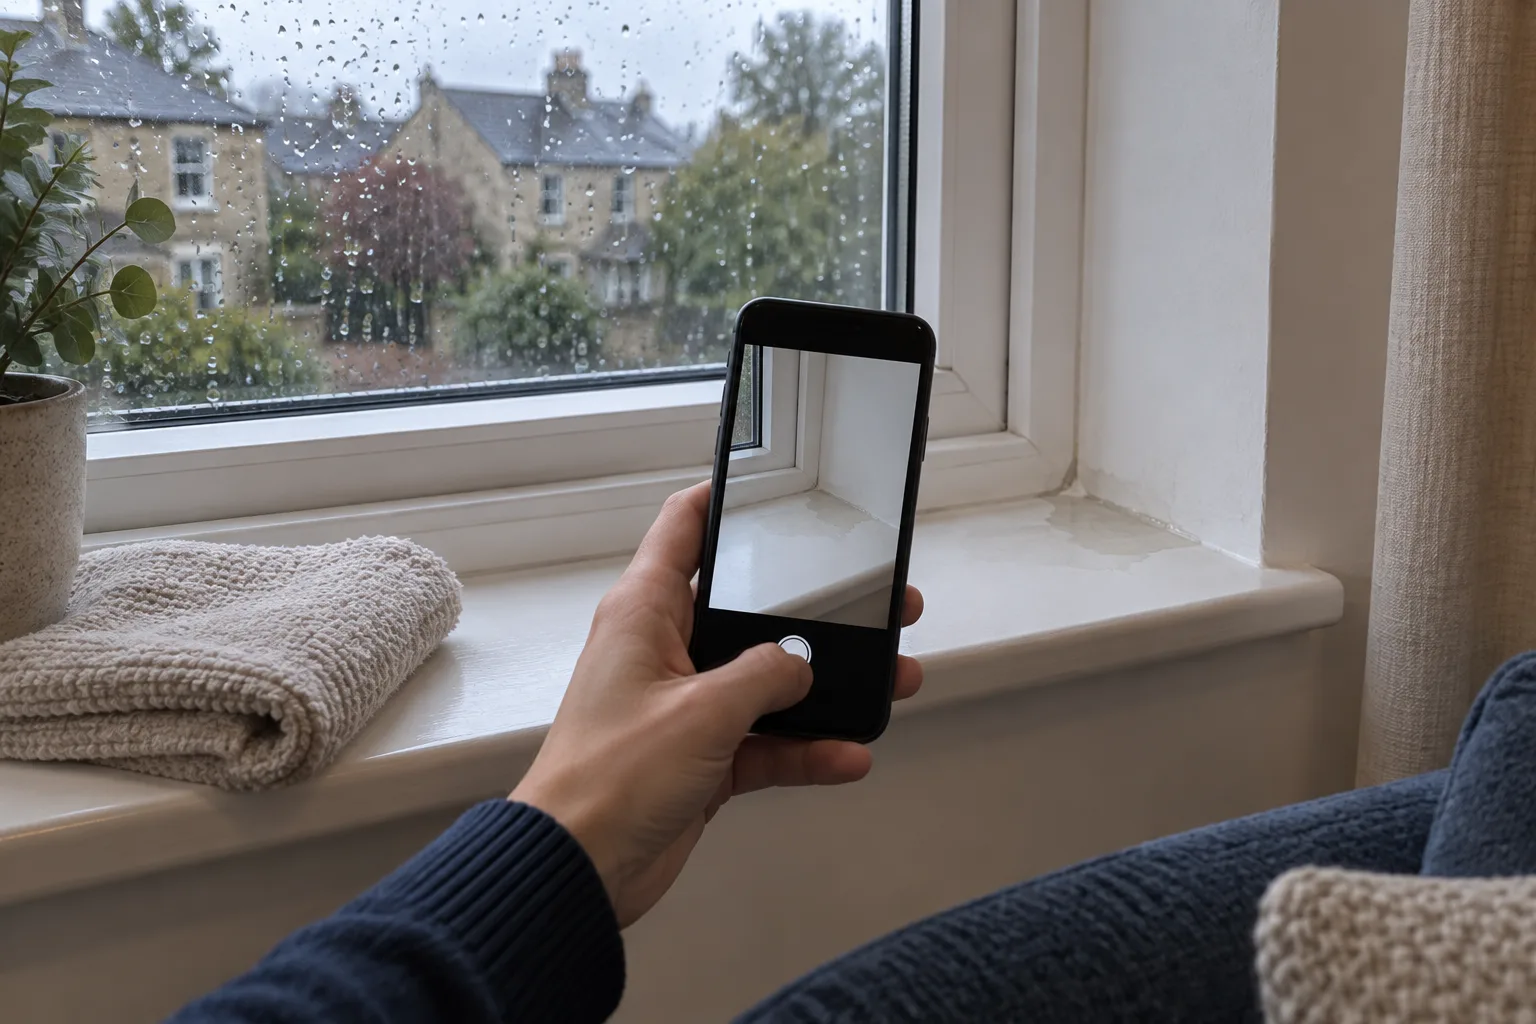
Rain can leave water in a window track without proving that the window has failed. But water appearing on interior trim or a wall deserves attention, and a wet spot alone cannot show where it entered. If a window is leaking after rain in Sanford, Florida, start by recording what you can observe rather than guessing at a repair. The distinction matters: a window may manage some water through its frame, while other water paths involve the unit or the way the opening connects to the surrounding wall.
This guide explains what to note, how to distinguish track drainage from indoor water, and why both the window and its wall integration may need assessment. A four-observation table shows what different wet areas may warrant checking, without treating any one clue as a diagnosis. You’ll also learn what product and inspection details to gather before discussing a possible scope of work.
Key Takeaways
- Rain-related window water may involve designed frame drainage, the window unit, or the surrounding wall assembly.
- Record rain timing, the first wet area, recurrence, photos, and visible drainage condition as observations, not a diagnosis.
- Temporary sill water and persistent pooling call for different checks; do not seal designed drainage openings.
- A product label and inspection record help focus questions about the evidence for proposed work and applicable instructions.
What Is Window Leaking After Rain?
A window leaking after rain describes water appearing indoors or around the frame; the visible wet area alone does not identify its source. Water may follow a designed drainage path through the window, enter through a problem within the unit, or pass around the opening through the surrounding wall assembly.
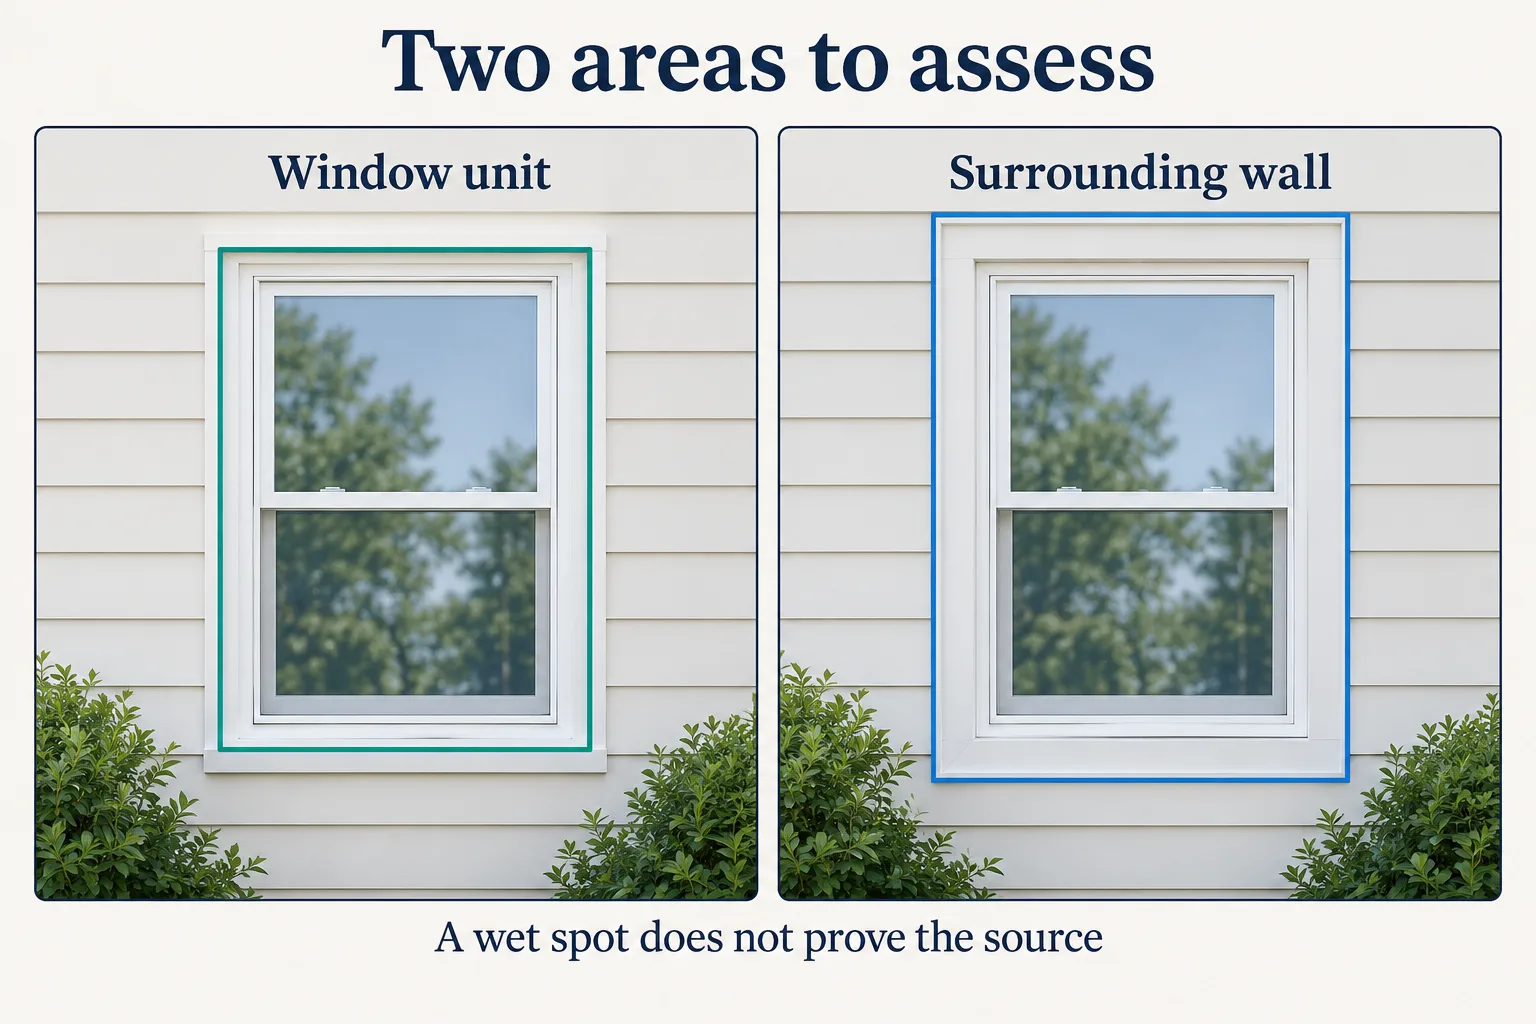
The homeowner’s first task is to note where water appears and when, then distinguish observations from conclusions. Those details can help focus an assessment of both the window and its connection to the wall.
Identify Where Water First Appears
Start with the first visible water and its timing. Note which opening is affected, whether rain was occurring, and whether the same area becomes wet again. Record whether the water appeared on the room-facing trim or wall, in the track, or somewhere else. These details describe what happened; they do not prove the hidden entry point.
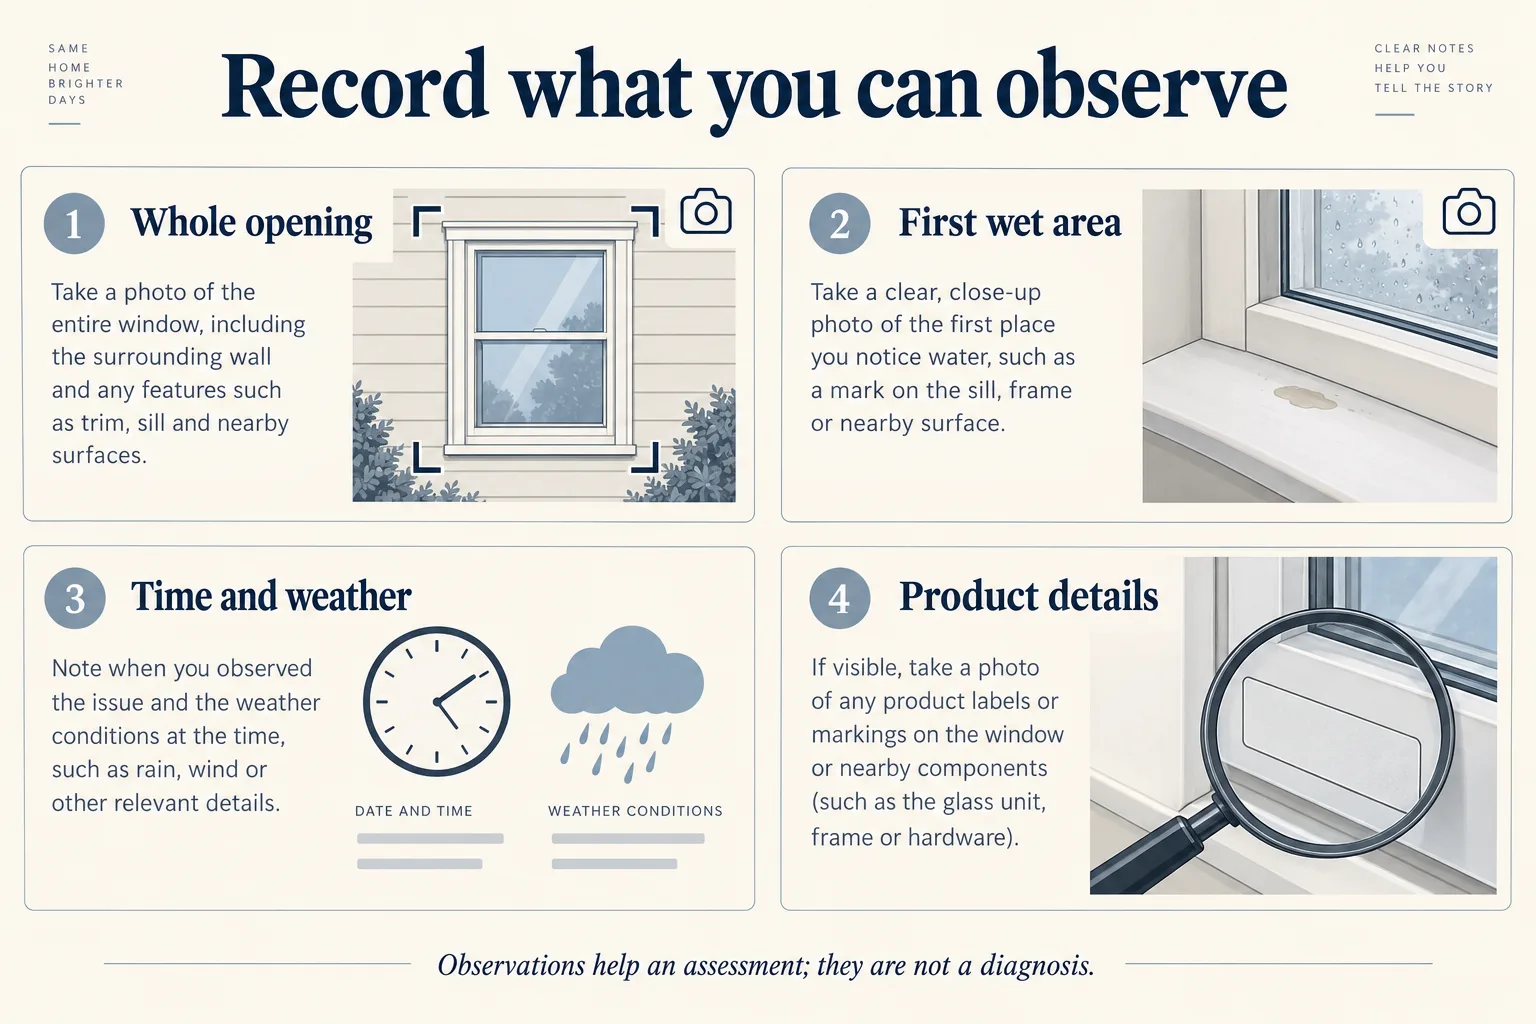
If the water is recurring or affecting interior finishes, preserve clear photos before cleaning or changing anything. A wide view can show the opening’s location, while close views can show the first wet area and visible track condition. Keep the observations factual, such as “water appeared on the lower left trim during rain,” rather than labeling the cause.
Separate Drainage From Interior Leakage
Some window designs route water that reaches the frame through drainage channels and openings at the exterior bottom. Water may remain temporarily in a sill after heavy rain, so its presence there alone does not establish failure. Persistent pooling is a reason to inspect for visible dirt or debris and follow the care instructions for that product. Designs differ, so avoid a universal drain-time test. Do not seal designed drainage openings; pressurized washing can damage some units and is discouraged by the cited manufacturer guidance.
Use the Observation Table
| What you observe | What it may warrant checking |
|---|---|
| Water temporarily in the sill or track after rain | Whether the window has a designed drainage path and whether water remains there after conditions change. |
| Persistent pooling in the track | Visible dirt or debris and the product-specific cleaning instructions. |
| Water on interior trim or a wall | The window unit and surrounding opening; the wet location alone does not identify the entry path. |
| An indoor wet spot while the visible track appears clear | The unit and wall integration, since a clear track does not rule out other paths. |
Check the Window and Surrounding Wall
The window and the wall around it are separate parts of an assessment. A water-resistive barrier helps protect the wall assembly, while flashing directs water down and outward around an opening. How these parts work together depends on the product and wall details. Rainwater behind cladding or around an opening may involve the installation rather than the window unit itself.
Product water-infiltration testing examines the unit; it does not test the installation. A visible wet spot cannot distinguish those paths. Flashing or support problems are possible contributors, not a diagnosis. Avoid blanket caulking, demolition or a homeowner hose test as a substitute for assessing the specific window and wall details.
FAQs
Can water in a window track mean the window is leaking?
Possibly. Some window designs route water through channels in the bottom frame and discharge it outside, and water may temporarily remain in a sill after heavy rain. That alone does not prove failure. Persistent pooling warrants checking for visible debris and following the care instructions for that product. Water on interior trim or a wall is a different observation and does not, by itself, reveal the cause.
How can I tell whether a leak comes from the window or the wall?
A wet indoor area does not reveal whether water passed through the window unit or around its installation. Product testing and installation testing assess different things; flashing and the wall’s water-resistive barrier help direct water outward. Record where water first appears, then have the relevant unit and surrounding wall details assessed before selecting work.
What should I record before asking about a window leak repair?
Record when rain occurred, the first place you saw water, whether the issue recurs, and the condition of visible drainage openings. Take wide and close photos and note the product label if you can locate it. Ask what observations support proposed work and which product-specific instructions apply; one wet spot is not proof that replacement is needed.
Conclusion
Treat visible water as evidence to document, not a diagnosis of what is hidden. Gather the product label, rain timing, photos and drainage observations, then ask what supports the proposed scope and which product instructions apply. For a practical conversation about your project, call Windows and Doors by Martin Toro.
Call Windows and Doors by Martin Toro to discuss your project