Window & door planning
Painting Interior Doors in Celebration, Florida: Prep and Finish
Learn how painting interior doors involves surface prep, paint selection, drying time and cleanup for a Celebration, Florida home.
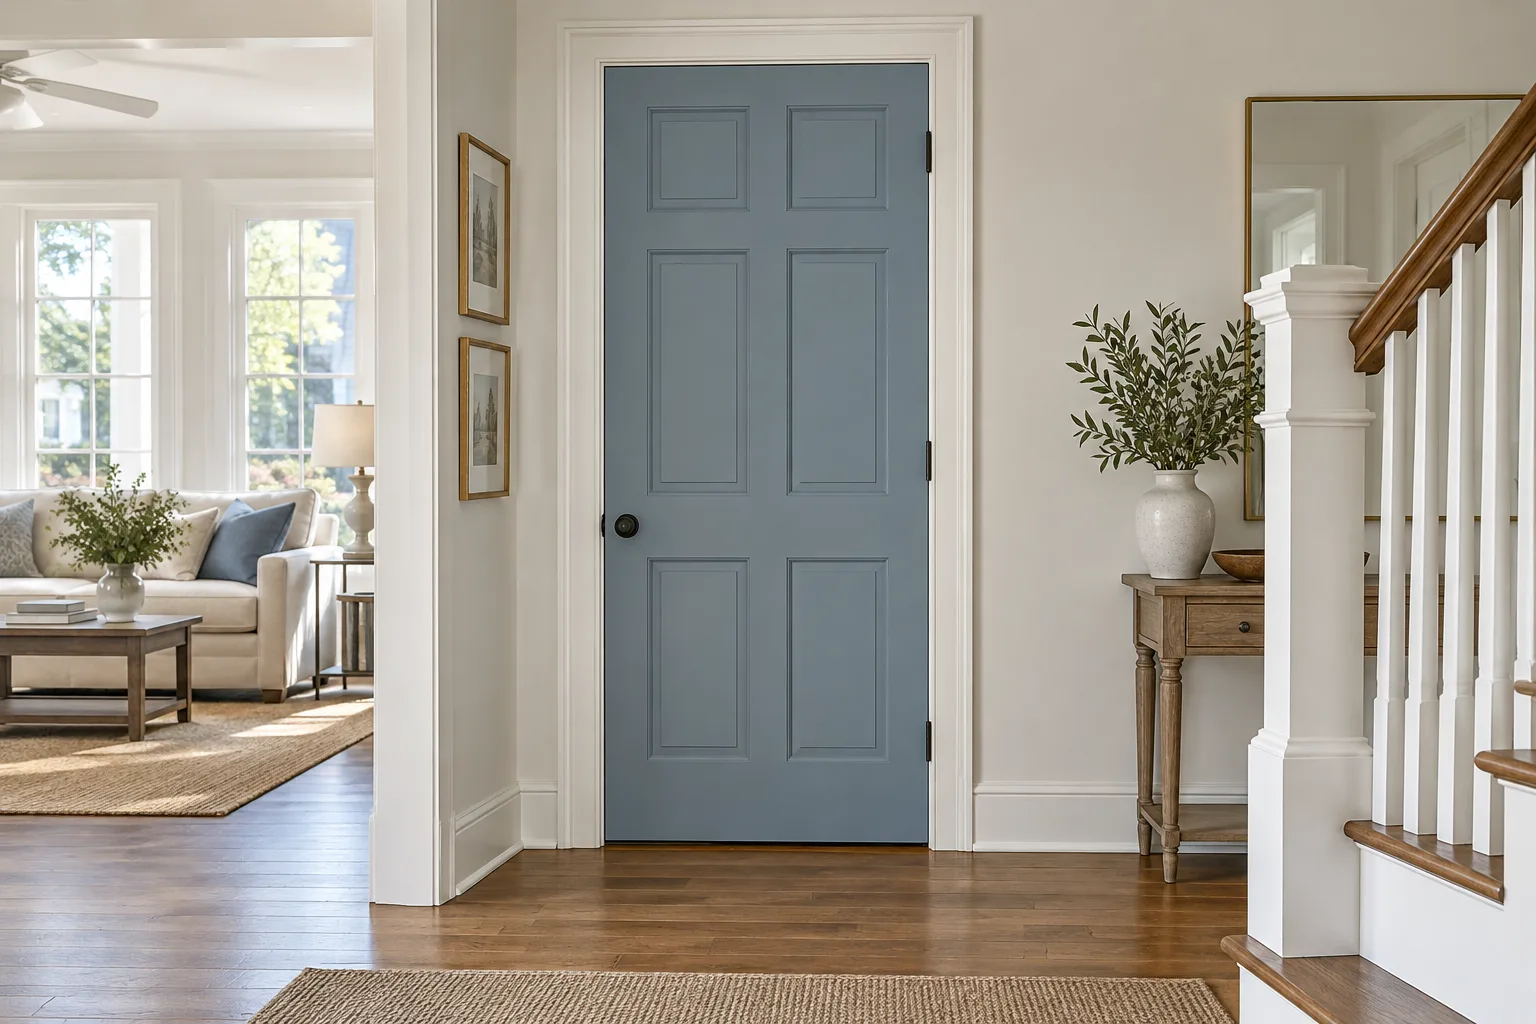
Painting interior doors can refresh a room; choose a finish that suits how often the door gets touched and cleaned. In Celebration, Florida, start by matching the color to the room’s walls, trim, or a deliberate accent, then prepare the surface carefully. The right approach depends on the door’s current condition, existing paint, and the look you want.
Key Takeaways
- Choose a door color that complements nearby walls and trim or creates a deliberate accent in the room.
- Semi-gloss and gloss finishes are easier to clean than flatter finishes, which suits doors touched often.
- Clean and lightly smooth the door before painting, then prime bare surfaces before applying finish paint.
- In homes built before 1978, check for lead paint concerns before sanding or disturbing an old painted surface.
Painting Interior Doors: Choose a Color and Finish
Color works best when it relates to something already in the room. A door close to the wall color keeps the space quiet, while a contrasting shade draws attention to the doorway. Bob Vila notes that interior doors can match or complement walls, or use a bright or dark accent color. For example, a muted blue door can pick up a color in nearby art without requiring every wall to change. Before choosing, view a sample beside the actual wall and trim in both daylight and evening light. The surrounding colors can shift the appearance of the door more than a small paint chip suggests.
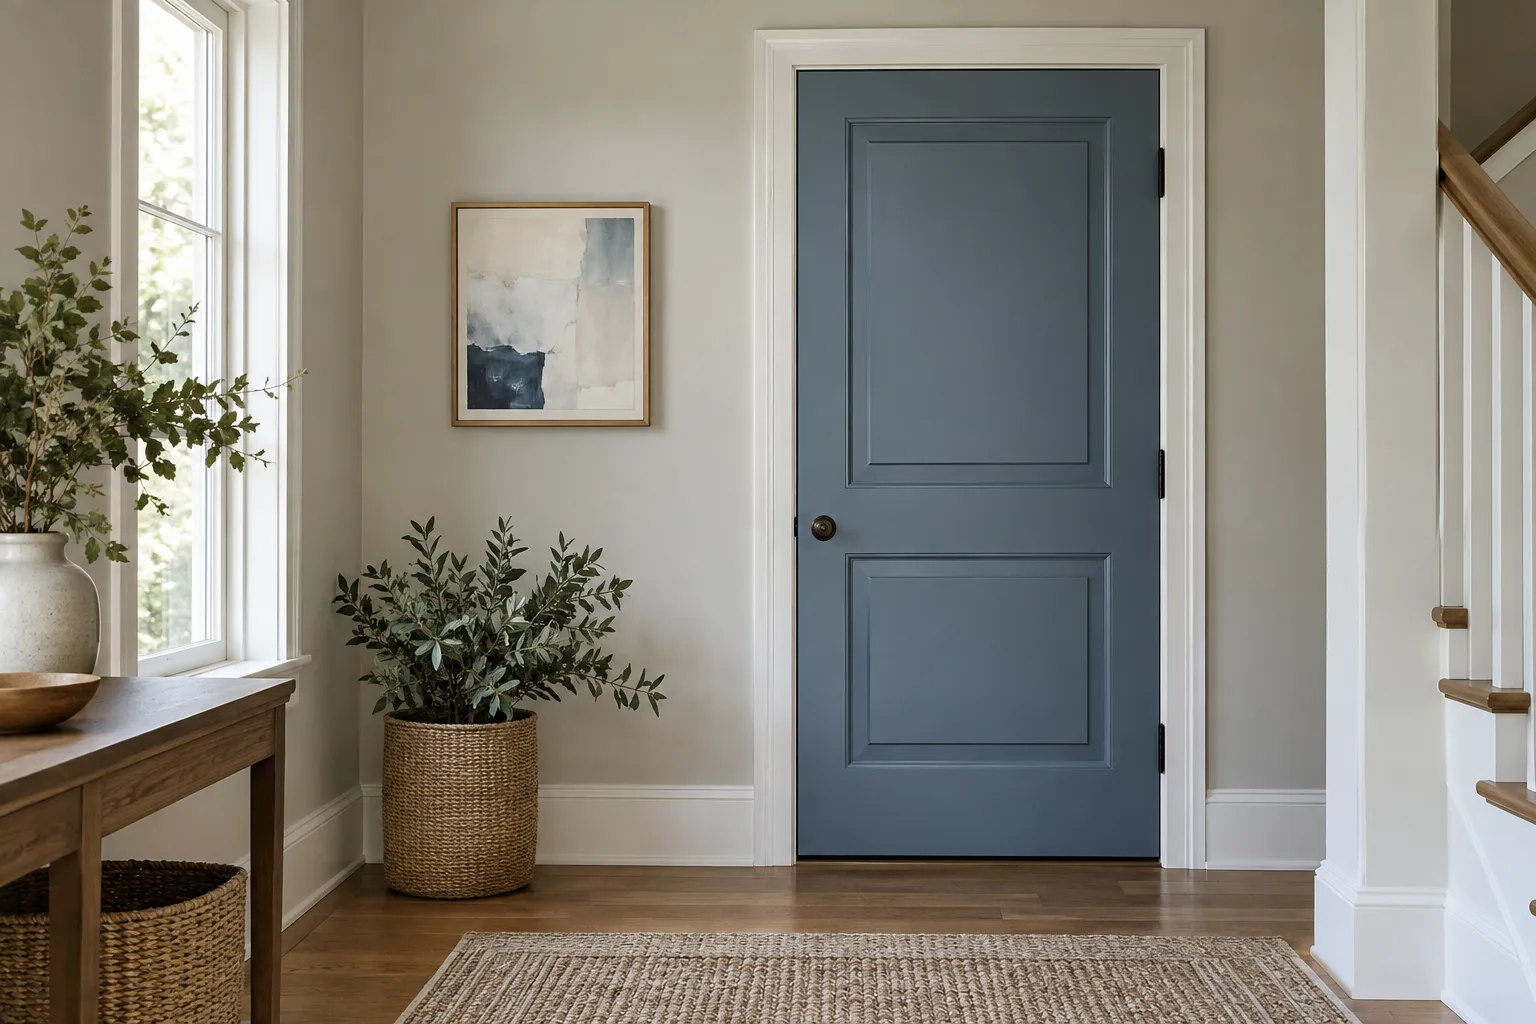
Semi-gloss is commonly used on interior doors and trim. It resists stains better and cleans more easily than flatter finishes. Gloss is another option for doors and works well in bathrooms. A busy hallway door that collects fingerprints may suit semi-gloss. For a low-touch bedroom door, choose a softer look if that matters more. Compare finish samples in the room’s light; glossier paint stands out against a flatter wall.
| Choice | Best fit | Trade-off |
|---|---|---|
| Wall-matched color | Quiet, blended look | Less contrast |
| Accent color | A door that stands out | More visual attention |
| Semi-gloss finish | Frequent cleaning | More sheen |
| Gloss finish | Strong highlight | Most shine |
Color sets how much the doorway stands out, while finish affects sheen and cleaning. For a frequently touched door, semi-gloss offers a practical balance; use gloss when you want a brighter highlight. If you prefer a calmer room, choose a wall-related color and a less prominent sheen, while keeping the finish’s cleaning needs in mind.
How to Prepare and Paint the Door
The condition of the existing surface determines how much preparation the job needs. Sherwin-Williams recommends washing a door with degreasing dish soap, rinsing away residue, sanding to smooth it, and wiping off dust. That sequence addresses grime and roughness before they become visible beneath the new coat. Check the door in raking light, which means looking across the surface from the side. Small dents and ridges can stand out after painting, so decide whether they need repair before selecting a color.
Prime Based on the Existing Coating
For an unpainted or unprimed door, apply a coat of primer. Let the primer dry completely before painting. For a previously painted door, identify the existing paint before choosing whether to prime. Dampen a rag with rubbing alcohol and rub it against the door. If paint transfers, the coating is latex, and Bob Vila says priming is unnecessary. If no paint transfers, Bob Vila says the coating is oil-based; prime before applying latex paint. If the old coating is peeling or its type remains unclear, pause and check the paint label or test a small area before proceeding.
Choose Whether to Remove the Door
Bob Vila says removing the door makes its edges easier to reach and helps prevent drips. Leaving it in place avoids removal, but requires masking the hinges and frame. Removing the door also takes space to support it safely while the paint dries. If it stays on its hinges, protect the hardware and floor. Keep the door from swinging into a freshly painted surface. Choose the setup that gives you steady access without making a small project awkward.
Apply Thin Coats and Allow Them to Dry
Use an angled trim brush on a paneled door’s recessed areas and around its hardware. Then use a roller on the remaining surface, applying thin, even coats. Sherwin-Williams says to wait at least four hours before applying a second coat. After the second coat, its instructions allow four hours or overnight for drying. Drying times vary by paint and conditions, so follow the label for your product. A door that still feels soft can take a mark if you close it too soon, so plan around its drying time.
Check for Lead Paint Before Preparing an Older Door
Older paint calls for a different decision than ordinary surface prep. Homes built before 1978 may contain lead-based paint. EPA recommends having a certified lead inspector or risk assessor test surfaces planned for renovation. Renovation, repair, or painting can create dangerous lead dust when it disturbs lead-based paint in a pre-1978 home. For work in a pre-1978 home, EPA recommends hiring a lead-safe certified contractor. DIYers who proceed should use lead-safe work practices.
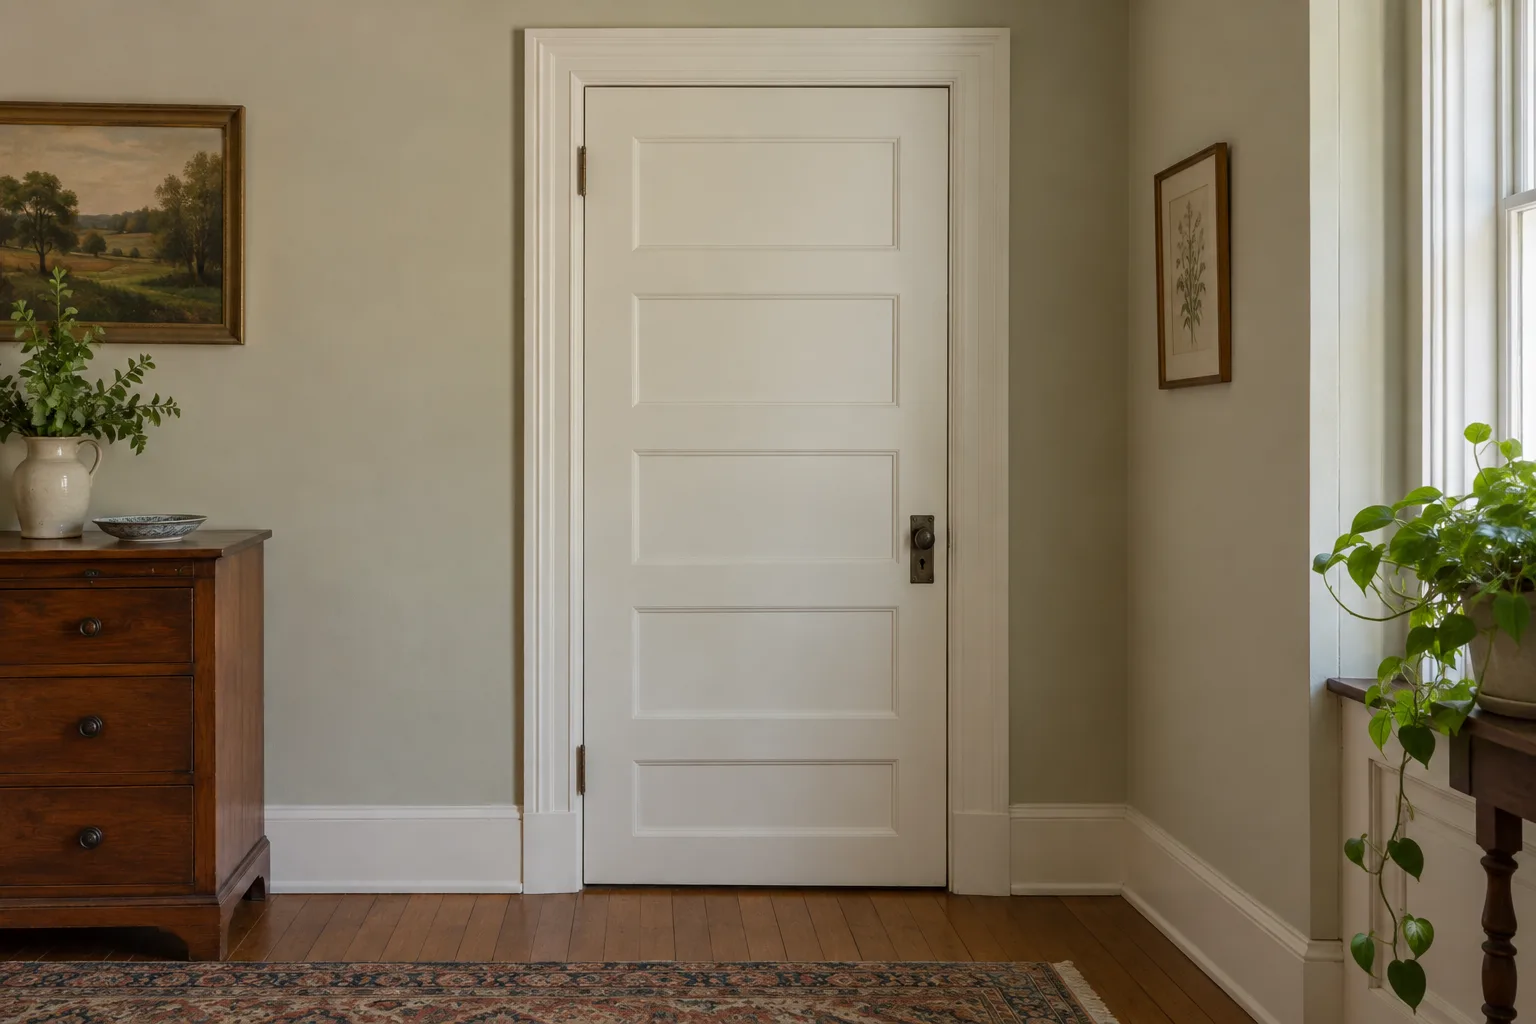
That matters before sanding, scraping, or removing an old coating, because those actions can create dust. If the home’s age is unknown, the EPA advises treating the area as though it has lead-based paint and following its lead-safe practices. In that situation, do not begin ordinary prep until the lead question is addressed. A fresh color can wait; the first decision is how to handle the existing coating safely.
FAQs
What paint finish is best for interior doors?
Semi-gloss is a practical choice for interior doors that need frequent cleaning because it is easier to clean than flatter finishes. Bob Vila also identifies gloss as a suitable door finish. Choose based on the room’s use and the amount of shine you want.
Do I need to prime an already painted interior door?
Not always; primer depends on the existing coating and the new paint. Sherwin-Williams recommends priming bare, unpainted or unprimed doors. Bob Vila says a latex repaint over oil-based paint needs primer. Follow the paint maker’s directions for the door’s condition.
Should I remove an interior door before repainting it?
Removing it can make the edges easier to paint and reduce drips, while leaving it in place avoids taking it off its hinges. Bob Vila outlines both approaches and their trade-offs. Pick the setup that lets you reach the surface steadily and protect the surrounding frame and floor.
Conclusion
For a door in Celebration, Florida, first decide whether the room needs a quiet match or a visible accent. Then choose a cleanable finish and prepare the surface for it. To discuss your project, call Windows and Doors by Martin Toro. Ask about the options for your home.
Call Windows and Doors by Martin Toro and ask about interior doors